jueves, 29 de agosto de 2013

Week Trick - Create a Basic SharePoint List Generator, with 3 code lines)


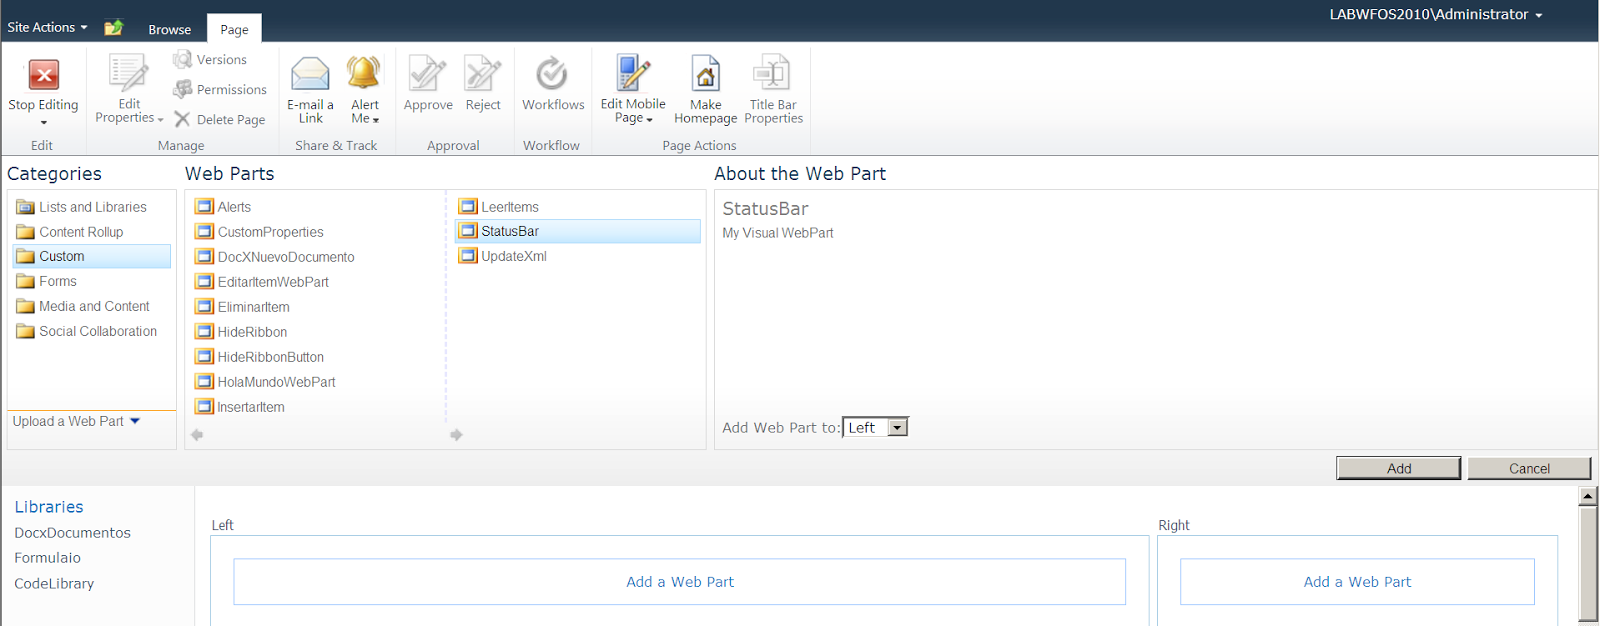
  • Create a Visual Web Part as "CreateList".
  • Add the namespace Microsoft.SharePoint.
  • In the Desing View add one textbox and a Button.
  • into the button click event. add the next 3 code lines.
  • Press F5 add the visual web part and test.


Regards.
Oscar.

viernes, 16 de agosto de 2013

Weekend Trick (Change Interface Lenguage in SharePoint using 5 code lines)

Pre-requisites:


  • Install the package.
  • Review the installation: go to Central Administration - Upgrade and Migration - Check product and patch installation status.
  • In your site go to Site Action - Site Settings - Site Administration - Language Settings and enable "Alternate language(s) Spanish.
  • Now in your visual studio solution create a new item - Visual web part and save as "ChangeLanguage".
  • Add  a button with the text "Change Language to Spanish".

  • Go to codebehind add the next name spaces: 
    • using Microsoft.SharePoint;
    • using System.Globalization;
    • using System.Threading;

  • into button click event add the next five code lines.

  • F5 add the webpart and test.

  • Press the button and the UI SharePoint language change to spanish.


Regards.
Oscar Miguel Dominguez Acevedo.

miércoles, 14 de agosto de 2013

Trick of the week (SPPageStatusSetter, create status notifications with three code lines).

Objetive: create a status notificación in status bar, on the client side.

1. Create a visual webPart save as "StatusBar".

2. Add the name space Microsoft.SharePoint.WebControls.

3. Input the next three code lines.


4. F5 and add the webpart into the principal page.


6. Now status notification is shown.


Regards.
Oscar Miguel Dominguez Acevedo.

jueves, 8 de agosto de 2013

Trick of the week (hide the SharePoint Ribbon with two code lines)

1. Create a webpart with the name "HideRibbon".

2. Open HideRibbonUserControl.ascx.cs

3. Add the next Reference: Microsoft.Web.CommandUI.


4. Add the next's name spaces: using Microsoft.Web.CommandUI and Microsoft.SharePoint.WebControls

5. Into page load event, add the next two lines of code.


6. Press F5 and add the WebPart into the site.


7. Now the ribbon is hidden.


Regards.
Oscar Miguel Dominguez Acevedo.

viernes, 2 de agosto de 2013

Using WCF services and Infopath to insert list items into SharePoint

This post you will show  the way to insert list items into sharepoint using WCF services and Infopath, this is other alternative if you are need in a rare case.

1. Create a project "WCF Service Library".  (see next image).


2. Add the next code into IService1.cs


3. Now add the Microsoft.SharePoint reference.


4. Add the next code into Service1.cs


The WCF service it's ready, now is time to publish.

5. go to internet information services (IIS) .

6. Create new site add the port 666


7. Add Aplication.


8. Publish.


9. now, in IIS manager go to application right click over thus and select Manage application Advance Settings


9. In Application Pool select SharePoint-80


mouse right click over WCFService and select explore.


Open the Web.config. search  "wsHttpBinding" and replace to "basicHttpBinding" save the file


Create a Infopath Form.

10. Open infopath designer and select Blank Form.


11. Add one button and a textbox.


13. In the ribbon select the tab Developer ---> languaje and select C#, then click the button code editor, and appears Visual Studio tools for applications. (if don't appears is neccesary install).

note: save you form as WCFInfopathForm.


Add the web reference to you WCF service.

14. Go to IISManager select WCF service, see in the right side and clic over  Browse, then click over file with the extension .svc


15. Copy the next URL.


16. Return to infopath code and add web reference.


17. Paste the WCFURL into URL field. then click over go button and finally insert: "WCFService" into the field Web Reference name: WCFService


19. Add the next code line.


20. Select Button and click Custom Code button in the ribbon.


30. Add the next code into Click Event.


Note: Change the next parameters.

Application URL: "http://labwfos2010/sites/ejemplossharepoint/"
ListName: ItemsSharePoint.
TextboxValue= ValueText.


31. return to the infopath form select the tab File then click Form Options.


32. Select "Security and Trust" check Full Trust and Ok.


33. test.


WCF Code.

IService.cs


 using System;  
 using System.Collections.Generic;  
 using System.Linq;  
 using System.Runtime.Serialization;  
 using System.ServiceModel;  
 using System.Text;  
 namespace WCFInsertItem  
 {  
   // NOTE: You can use the "Rename" command on the "Refactor" menu to change the interface name "IService1" in both code and config file together.  
   [ServiceContract]  
   public interface IService1  
   {  
     [OperationContract]  
     string GetData(int value);  
     [OperationContract]  
     CompositeType GetDataUsingDataContract(CompositeType composite);  
     [OperationContract]  
     void InsertItemInList(string UrlWebApplication, string ListName, string TitleItem);  
     // TODO: Add your service operations here  
   }  
   // Use a data contract as illustrated in the sample below to add composite types to service operations  
   [DataContract]  
   public class CompositeType  
   {  
     bool boolValue = true;  
     string stringValue = "Hello ";  
     [DataMember]  
     public bool BoolValue  
     {  
       get { return boolValue; }  
       set { boolValue = value; }  
     }  
     [DataMember]  
     public string StringValue  
     {  
       get { return stringValue; }  
       set { stringValue = value; }  
     }  
   }  
 }  

Service1.cs


 using System;  
 using System.Collections.Generic;  
 using System.Linq;  
 using System.Runtime.Serialization;  
 using System.ServiceModel;  
 using System.Text;  
 using Microsoft.SharePoint;  
 namespace WCFInsertItem  
 {  
   // NOTE: You can use the "Rename" command on the "Refactor" menu to change the class name "Service1" in both code and config file together.  
   public class Service1 : IService1  
   {  
     public string GetData(int value)  
     {  
       return string.Format("You entered: {0}", value);  
     }  
     public CompositeType GetDataUsingDataContract(CompositeType composite)  
     {  
       if (composite == null)  
       {  
         throw new ArgumentNullException("composite");  
       }  
       if (composite.BoolValue)  
       {  
         composite.StringValue += "Suffix";  
       }  
       return composite;  
     }  
     public void InsertItemInList(string UrlWebApplication, string ListName, string TitleItem)  
     {  
       using (SPSite site = new SPSite(UrlWebApplication))  
       {  
         using (SPWeb web = site.OpenWeb())  
         {  
           web.AllowUnsafeUpdates = true;  
           SPList oList = web.Lists[ListName];  
           SPItem oItem = oList.Items.Add();  
           oItem["Title"] = TitleItem;  
           oItem.Update();  
           web.AllowUnsafeUpdates = false;  
         }  
       }  
     }  
   }  
 }  


Infopath Code.


 using Microsoft.Office.InfoPath;  
 using System;  
 using System.Xml;  
 using System.Xml.XPath;  
 using WCFInfopathForm.WCFService;  
 namespace WCFInfopathForm  
 {  
   public partial class FormCode  
   {  
     // Member variables are not supported in browser-enabled forms.  
     // Instead, write and read these values from the FormState  
     // dictionary using code such as the following:  
     //  
     // private object _memberVariable  
     // {  
     //   get  
     //   {  
     //     return FormState["_memberVariable"];  
     //   }  
     //   set  
     //   {  
     //     FormState["_memberVariable"] = value;  
     //   }  
     // }  
     // NOTE: The following procedure is required by Microsoft InfoPath.  
     // It can be modified using Microsoft InfoPath.  
     public void InternalStartup()  
     {  
       ((ButtonEvent)EventManager.ControlEvents["CTRL2_5"]).Clicked += new ClickedEventHandler(CTRL2_5_Clicked);  
     }  
     public void CTRL2_5_Clicked(object sender, ClickedEventArgs e)  
     {  
       // Write your code here.  
       Service1 WCFInfopath = new Service1();  
       WCFInfopath.Credentials = System.Net.CredentialCache.DefaultCredentials;  
       XPathNavigator ValueInfo = this.MainDataSource.CreateNavigator().SelectSingleNode("/my:myFields/my:field1", this.NamespaceManager);  
       String ValueText = ValueInfo.Value;  
       WCFInfopath.InsertItemInList("http://labwfos2010/sites/ejemplossharepoint/", "ItemsSharePoint", ValueText);  
     }  
   }  
 }  


easily =)
Regards.
Oscar Miguel Dominguez Acevedo